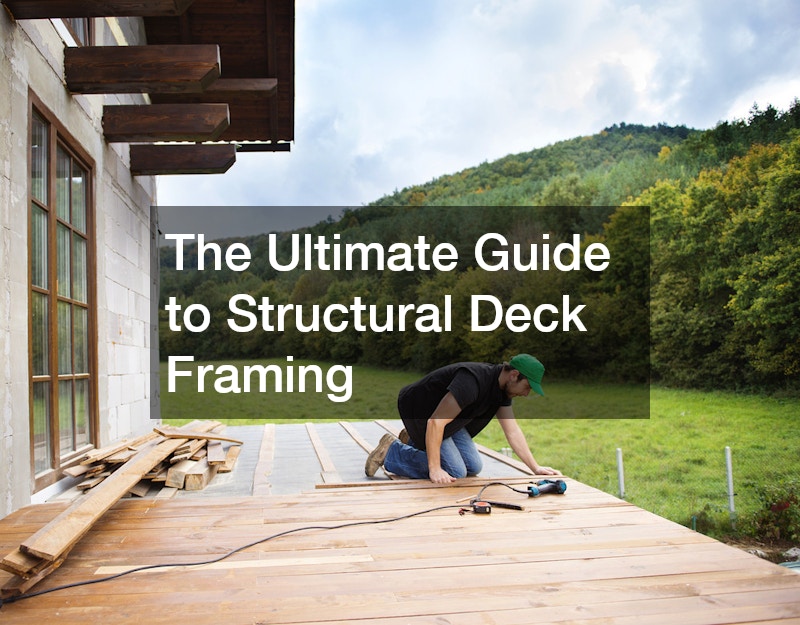
Building an outdoor living space is one of the most rewarding home improvement projects you can undertake. However, a deck is only as good as the substructure supporting it. Behind every beautifully stained surface or low-maintenance composite floor lies a precise lattice of beams, joists, blocking, and posts. Professional deck builders understand that mastering the mechanics of structural framing is the secret to creating an outdoor platform that stands true, safe, and square for decades.
Whether you are planning a complete backyard overhaul or simply want to understand what goes into a high-quality build, understanding the fundamental stages of structural framing will help you appreciate the craft.
Layout Precision, Joist Placement, and Squaring the Frame
The framing process begins long after the ledger board is secured to the house and the main support beam is rested on its footings. The real precision work starts when laying out the floor joists.
Skilled deck builders lay out the support beam to match the exact spacing marked on the house ledger board, carefully squaring off each layout mark and indicating which side of the line the joist will sit.
Before securing every joist permanently, an outer joist is typically set and used as a temporary brace to square up the main beam. Setting the frame square early on prevents compounding errors later in the build.
Once the layout is squared:
- Toenailing for Placement: Joists are initially placed flush with the top flashing and toenailed into the ledger and beam. This temporary tacking keeps members in position without functioning as the final structural support.
- Crowning the Lumbar: Each joist is inspected and oriented with its “crown” (the subtle natural upward curve of the wood) facing up so that heavy loads flatten the frame evenly over time.
- Tight-Space Solutions: In tight corners near house walls where a standard nail gun cannot reach, hardware such as joist hangers and side ledgers must be installed before the final joist is slipped into place and fastened.
- Positive Placement Hardware: After joists are temporarily tacked, positive placement nailers speed up the installation of metal joist hangers across the entire expanse, ensuring every structural connector receives approved fasteners.
Mid-Span Blocking and Straight-Edge Trimming
Once the joists are locked into their hangers, the structure requires lateral stabilization. Without intermediate support, tall joists can twist or bow under dynamic weight. This is where solid mid-span blocking comes into play.
Fitting solid wood blocks between each joist directly over the support beam locks the structural frame together. Experienced carpenters nail and toenail these blocks into position. Caution is required during this step: heavy framing nails can occasionally hit dense knots or hardware, causing the fastener to curl 90 degrees and exit out the side of the timber. Keeping hands well clear of the “nail zone” is a fundamental safety practice on site.
After blocking is complete, the joists—which were purposely left slightly long during initial placement—are snapped with a chalk line and trimmed to their exact final length. Trimming the joists in place ensures the outer rim joist attaches to a clean, straight plane. It also allows builders to adjust the overall depth of the frame so that full decking boards lay flat without awkward, skinny end cuts.
When attaching the outer rim joist, builders use straight lumber and carefully flush the top edges together, using clamps, framing nails, and hand leverage to pull any stubborn or warped joists into perfect alignment.
Securing Deck Posts with Heavy-Duty Hardware
The final crucial stage of substructure framing involves tying the deck’s vertical posts into the joist network. Modern building codes require robust mechanical connections to prevent posts from rotating or shifting under lateral wind loads or heavy foot traffic.
To install structural posts correctly:
- Sandwich Construction: The support post is placed into the rim structure, often sandwiched snugly between two solid blocking pieces and an adjacent joist.
- Carriage Bolt Anchorage: Heavy carriage bolts are driven through the outer rim, internal blocking, and the post itself.
- Approved Structural Brackets: Structural metal brackets are fitted over the carriage bolts and tightened down with heavy nuts.
- Base Block Fastening: A lower support block is positioned beneath the metal bracket and fastened securely to lock the post in place before the rest of the railing or guardrail structure is built upward.
By combining proper ledger attachment, crown-up joists, intermediate blocking, and reinforced post brackets, professional deck builders create a rigid foundation that can withstand seasons of heavy use.
Build Your Dream Outdoor Space Today
Building a custom deck requires technical skill, structural knowledge, and an unwavering commitment to quality materials. If you are ready to upgrade your home with a beautiful, expertly crafted outdoor space, turn to the trusted team at A1 Aluminum. From solid substructures to low-maintenance custom aluminum railings and outdoor enclosures, A1 Aluminum delivers exceptional craftsmanship engineered to last.

About the Author