

Standing on an empty piece of dirt and picturing your future front porch is one of the most thrilling moments of homeownership. Unlike buying an existing house—where the driveway is already paved, the utilities are connected, and the layout is set in stone—starting from scratch gives you complete control over how your property functions from day one. You get to choose where the morning sun hits your kitchen window, how far back your house sits from the road, and how your outdoor space supports your hobbies, vehicles, and family life.
At the same time, building on undeveloped acreage requires a completely different mindset than a standard real estate purchase. When there is nothing on the lot yet, sequencing is everything. Pouring concrete before trenching underground pipes or ordering finish materials before securing dry storage can quickly drain your budget and stall your timeline for months. By breaking the journey into logical, chronological phases, you can turn raw land into a comfortable, low-maintenance, and well-protected home without costly beginner mistakes.
1. Preparing Your Lot and Underground Infrastructure
Before a single stick of lumber arrives on your property, your focus needs to be on the earth itself and what lies beneath it. Rushing past site preparation is one of the fastest ways to run into structural headaches and unexpected change orders later in the build.
Walk the Property to Map Drainage, Access Routes, and Build Zones
Spend time walking your lot during or right after a heavy rainstorm. Watching where water naturally flows and collects will tell you immediately where you need to build up elevation and where swales or culverts should be cut. Your house pad should sit on the highest practical ground—or be built up with compacted engineered fill—so water always drains away from your future foundation.
Once you have staked out the approximate corners of your house, plan your construction access route. Heavy concrete mixers, truss delivery trucks, and excavators weigh tens of thousands of pounds and will sink instantly in soft topsoil. Have your excavation crew strip the topsoil along your planned driveway path, lay down woven geotextile fabric, and compact a thick base of coarse crushed rock early. That temporary construction road will eventually become the sub-base for your permanent driveway.
When it is time to open up the build site, hire a reputable land clearing crew that practices selective clearing rather than bulldozing the entire parcel flat. A skilled operator will remove dense brush, dead timber, and deep root systems within your foundation footprint and utility corridors while preserving healthy mature trees around the perimeter. Keeping established hardwoods at a safe distance from the house not only increases your property value overnight, but it also provides natural windbreaks and afternoon shade that lower your summer cooling bills for decades.
Lock In Waste Management and Utility Trenches Before Pouring Concrete
With the build pad accessible, your next priority is underground infrastructure. If your parcel is outside city limits, schedule soil evaluations and percolation tests immediately to determine what type of septic system your ground can support. Sandy loam drains very differently than heavy clay, and knowing whether you need a conventional gravity system or an aerobic treatment unit affects both your budget and your yard layout.
Bring in licensed sewer services during the rough excavation phase so all main waste lines, cleanouts, and septic connections are trenched and inspected before your foundation slab is poured. Cutting through a freshly cured concrete slab because a drain line was off by eight inches is an expensive, heartbreaking mistake. While those trenches are open, coordinate with your electrician and plumber to map out water supply lines, electrical conduit, and any low-voltage sleeves for future gate openers or outdoor lighting.
2. Choosing the Right Structure and Core Build Team
Once the site is prepped and underground lines are stubbed out, your attention shifts from dirt work to the structure itself. Selecting the right building method and assembling a transparent construction team will dictate both your upfront expenses and how much upkeep your home requires over the next thirty years.
Compare Traditional Framing Against Steel-Frame Alternatives for Your Budget
First-time land builders today are no longer limited to conventional wood framing. Depending on your aesthetic goals, local climate, and budget, you may want to weigh standard stick-built construction against engineered steel structures. Traditional wood framing offers familiar architectural styling, straightforward interior remodeling down the road, and widespread contractor availability. However, lumber price fluctuations and the need for interior load-bearing walls can add cost if you want soaring ceilings and wide-open living spaces.
On the other hand, if you dream of an expansive, column-free floor plan, deep covered porches, and rugged exterior durability, you might consult an experienced barndominium builder to price out a steel-frame alternative. Because clear-span steel trusses carry roof loads on the exterior columns rather than interior walls, you have near-total freedom to arrange bedrooms, kitchens, and workshop bays however you like. Just make sure any steel-structure specialist you interview understands local residential building codes, proper vapor barrier installation to prevent condensation, and high-efficiency spray-foam insulation requirements.
Vet Contractors Using Line-Item Bids and Fixed Milestone Schedules
Regardless of the architectural style you choose, how you structure your contractor agreements matters just as much as the blueprints. Never sign a contract based on a vague, single-page lump-sum estimate. Ask prospective builders for detailed, line-item bids that separate labor costs from material allowances for flooring, cabinetry, plumbing fixtures, and windows. If a builder gives you an unrealistically low allowance for kitchen cabinets or septic installation, you will end up paying the difference out of pocket mid-project.
When managing traditional home construction, protect your cash flow by tying every draw payment to completed, inspected milestones rather than calendar dates. Paying a fixed percentage simply because the first of the month arrived leaves you exposed if weather or labor shortages stall progress on site.
3. Designing Safe, Functional Interior Transitions
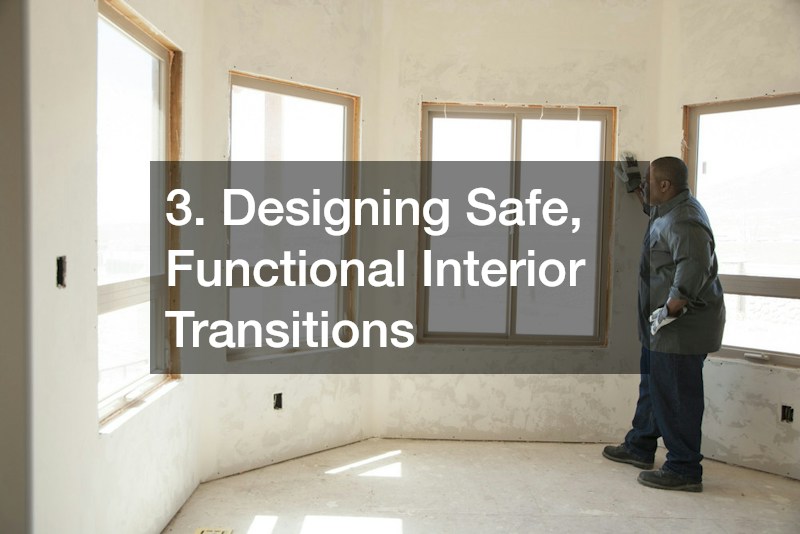
During the framing stage, it is easy to get distracted by exterior siding colors and roof pitches, yet the internal skeleton of your house determines how smoothly your household moves from room to room. Making smart structural decisions while the studs are still exposed saves thousands of dollars compared to retrofitting finished drywall later.
Finalize Architectural Safety Features During the Framing Stage
Before drywallers hang a single sheet, walk through your framed rooms with your contractor to install solid wood blocking inside the walls. Adding horizontal 2×10 blocking between studs takes minutes during framing and gives you rock-solid anchoring points for heavy kitchen cabinets, wall-mounted televisions, towel bars, and future bathroom grab bars.
Pay special attention to multi-story transitions, sunken living areas, and loft overlooks. As soon as your subfloors and rough stair stringers are installed, bring in a dedicated stair railing company to verify exact rise-and-run measurements, landing clearances, and mounting points. Building codes are strict regarding handrail graspability, minimum guard heights, and baluster spacing so small children cannot slip through. Ordering custom wood, wrought iron, or stainless steel cable railings early ensures fabrication finishes on time and passes your final occupancy inspection without last-minute delays.
Future-Proof Your Floor Plan for Everyday Wear and Accessibility
Designing your first custom build is a rare opportunity to eliminate the everyday annoyances common in older production homes. A few subtle dimensional tweaks during framing will make your house noticeably easier to live in, whether you are hauling laundry baskets, carrying groceries, or hosting aging relatives.
4. Adding Dedicated Storage, Workshops, and Covered Space
One of the biggest regrets among first-time land builders is pouring every dollar into the main living quarters while leaving zero budget for outbuildings. When you live on acreage or maintain your own yard, you quickly accumulate mowers, pressure washers, ladders, seasonal decorations, and tools that will rapidly overrun a standard attached garage.
Build Weatherproof Storage Early to Protect Materials and Vehicles
If your budget allows, pour the concrete pad for your outbuilding on the same day your crew pours the main house foundation. Concrete plants and pump trucks charge substantial minimum delivery and setup fees, so combining pours saves money right out of the gate.
Putting up a detached metal garage early in the construction timeline gives you an immediate, weather-tight, lockable vault right on your property. Instead of paying monthly fees for an off-site storage unit—or leaving expensive appliances, hardwood flooring boxes, and power tools exposed to humidity and theft inside an unfinished house—you can store everything safely on-site until installation day. Once you move in, that same steel structure seamlessly transitions into a dedicated workshop, boat bay, or classic car shelter.
Use Tensioned Fabric Structures for Budget-Friendly Equipment and Hobby Shelter
You do not always need insulated walls and poured concrete footings for every piece of gear on your property. Tractors, utility trailers, hay bales, firewood, and recreational vehicles simply need reliable protection from UV rays, hail, and driving rain.
If you want generous covered square footage without blowing your remaining construction budget, request quotes from reputable hoop building companies for an engineered, arched-frame shelter. These structures pair galvanized steel trusses with heavy-duty, tensioned polyethylene fabric covers that block harsh weather while letting soft, natural daylight filter through the roof.
5. Creating a Low-Maintenance, Mud-Free Exterior
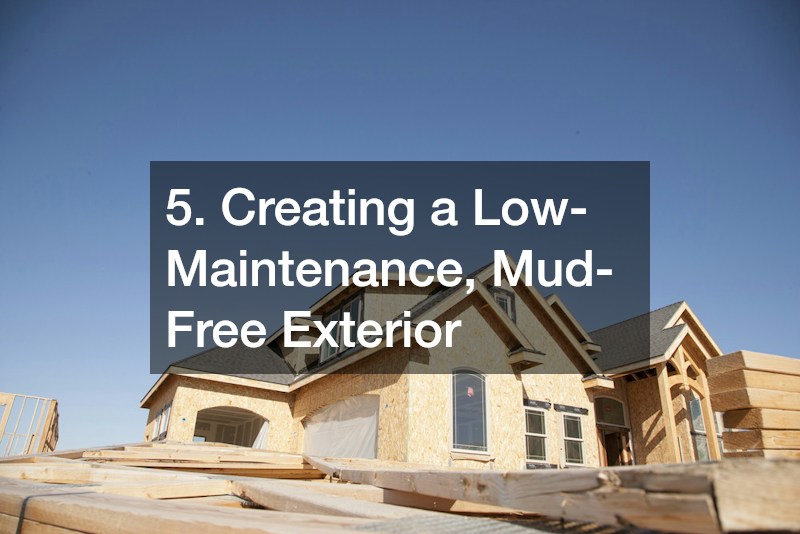
By the time interior trim, paint, and cabinetry are wrapping up, construction fatigue usually sets in—and your yard probably looks like a dusty construction zone. Neglecting your exterior grading and ground cover right before move-in, however, means tracking red clay and mud across brand-new floors every time it rains.
Grade Away From the Foundation and Stabilize High-Traffic Zones
Before laying down any landscaping materials, verify your final rough grade around the entire perimeter of the house. Soil should slope away from your exterior walls at a drop of at least six inches over the first ten feet. Proper positive drainage keeps rainwater from pooling against your foundation, preventing soil expansion, basement dampness, and premature siding rot.
Next, identify the high-traffic zones where pets, kids, and foot traffic will wear bare paths into new grass—such as dog runs, backyard play areas, shaded side yards, and courtyards right outside your back patio. Rather than fighting mud pits and patchy weeds for years, consider hiring a specialized artificial turf company to install commercial-grade, permeable synthetic grass in those heavy-use pockets.
Choose Native Hardscaping to Cut Water Bills and Weekend Upkeep
Surround your primary outdoor living areas with sensible, climate-appropriate hardscaping so your weekends go toward enjoying your new land rather than endless yard maintenance.
6. Protecting Your New Investment and Executing Move-In Day
With final inspections passed and your certificate of occupancy in hand, you are finally ready to transition from a construction site to a lived-in home. Taking a few proactive steps during the final week before move-in will protect your brand-new finishes and keep unwanted critters from claiming your space first.
Establish a Preventative Barrier Before Unpacking a Single Box
Clearing brush, trenching soil, and disturbing old tree stumps naturally displaces subterranean insects, spiders, and field mice. As soon as your HVAC system turns on and lights glow at night, those displaced pests will look for tiny gaps around utility pipes, garage door seals, and weep holes to move indoors.
Schedule a licensed pest control company to perform a thorough pre-move-in perimeter treatment and exclusion check a few days before your boxes arrive. Having technicians treat exterior foundations, attic eaves, and plumbing penetrations while every room is empty is faster, safer, and far more effective than trying to spray behind heavy dressers and kitchen appliances after you have unpacked.
Coordinate Logistics and Floor Protection for Heavy Furniture Delivery
Moving into a brand-new build requires a little extra logistical coordination compared to a typical neighborhood move. Confirm with your movers and builder that all dumpsters, portable toilets, and leftover lumber stacks have been hauled off so delivery trucks have plenty of room to turn around without backing over fresh septic drain fields or soft lawn edges.
Bringing Your Vision Together
Building your first custom home from bare land is a major undertaking, and there will inevitably be days when weather delays or supply backorders test your patience. Yet when you respect the natural sequence of a build—getting the drainage, underground utilities, and structural envelope right before worrying about paint swatches and light fixtures—every subsequent phase falls into place far more smoothly.
About the Author